
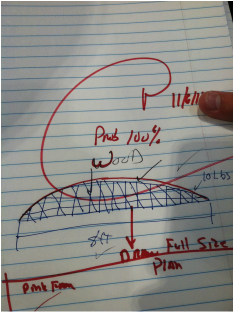
Mr. Ramos approving our design. We used most of this design for our actual bridge.

I broke the board of failure. I broke one of the rules and had to sit on the red mat
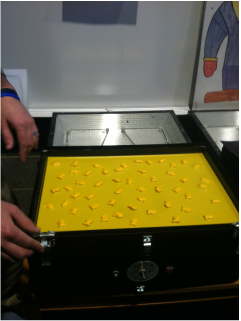
Mr. Ramos showed us how to use the vacuum thing with goldfish.

The glasses that Mr. Ramos got for the class. I use them every time we work on the bridge.
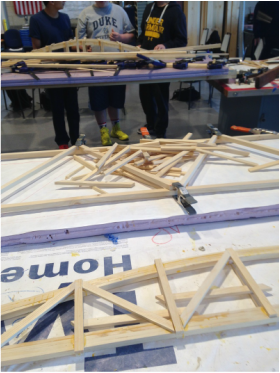
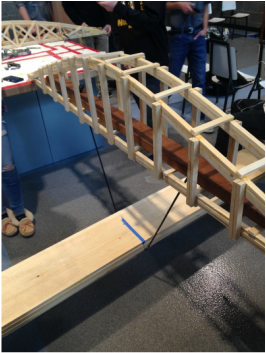
We are working hard on our bridge. And as you can see so is the group behind us.
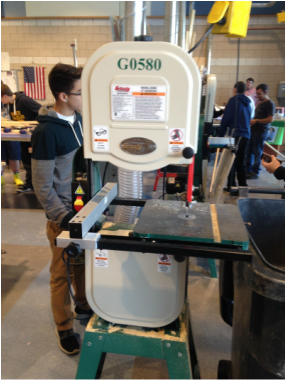
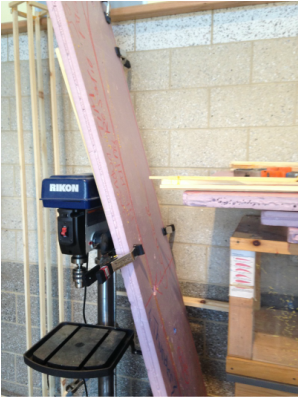
The mother of all band saws. The american made Grizzly that we used to cut wood for our bridge.
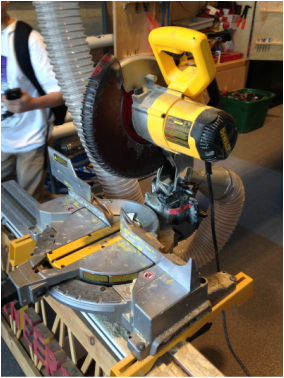
Another hungry saw. The DeWalt that we used to cut large pieces of wood.
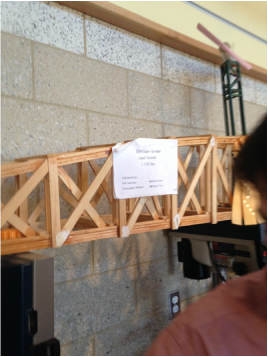
One of the other groups testing their completed bridge.
Last years award winning bridge.
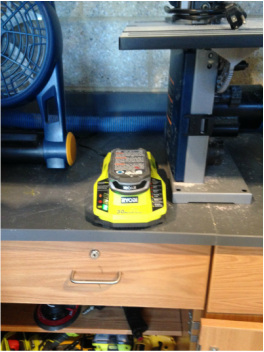
A battery charger for the battery for the power tools. We used many power tools to work on our bridge.
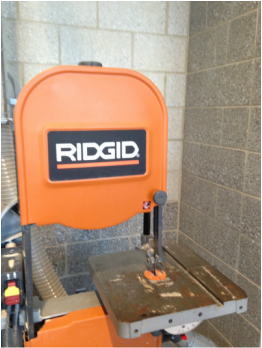
Another hungry band saw. But not as hungry as the american made Grizzly but still got the job done when cutting the wood for our bridge.

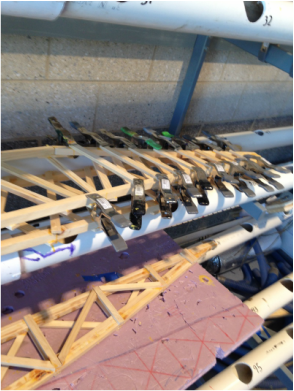
A clamp that we use to help strengthen the pieces that we glued down to our bridge.
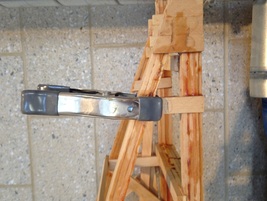
The clamp that we used to strengthen the glue on our bridge.

An Irwin clamp that keeps the bridge up when we test it. It can also be used to keep pieces glued together.
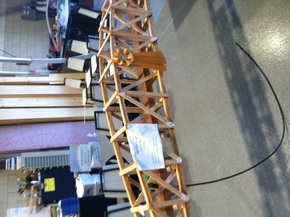
Another picture of last years winner. This time it's used for a demonstration on how to test our bridge.
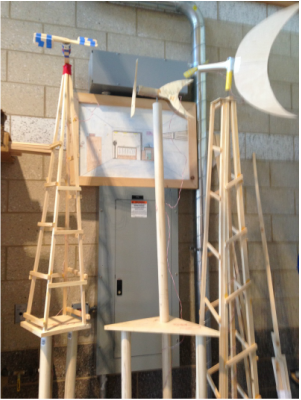
A picture of the other projects that the other classes are working on. These allow us to get a general idea of how our next projects should look.
The pink foam that we used to draw the outline of our bridge.
A day of hard work on our bridge and where we put it away for the day.
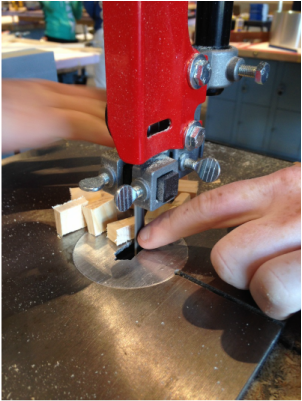
Using the Grizzly band saw to cut up some pieces of wood.
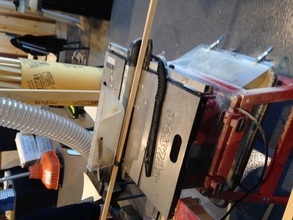
Using the table to saw to cut pieces out for the base of our bridge.
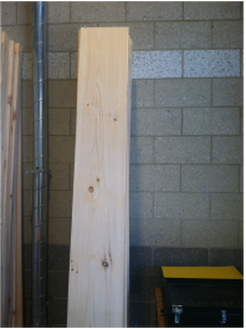
A piece of wood that we used to make our bridge out of.
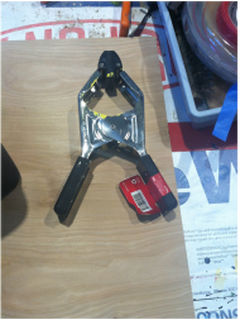
A bigger better clamp that we used on our bridge to keep the wooden pieces glued down.
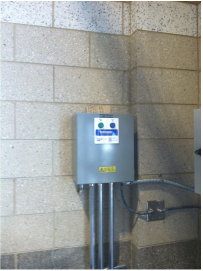
The power button for the vacuum that sucks up the remaining sawdust.
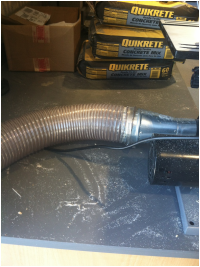
A hose for the vacuum that cleans up the sawdust that's left behind after we cut the wood.
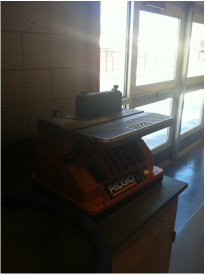
The sander we used to get the rough edges out of our bridge.
